How to create, export, and import a user-defined workflow
You may want to create your own workflow if you repeatedly set up the same charts, virtual columns, filters, and so on, every time you open a Run/Table. You can also export your user-defined workflows to share them with others.
Create a user-defined workflow
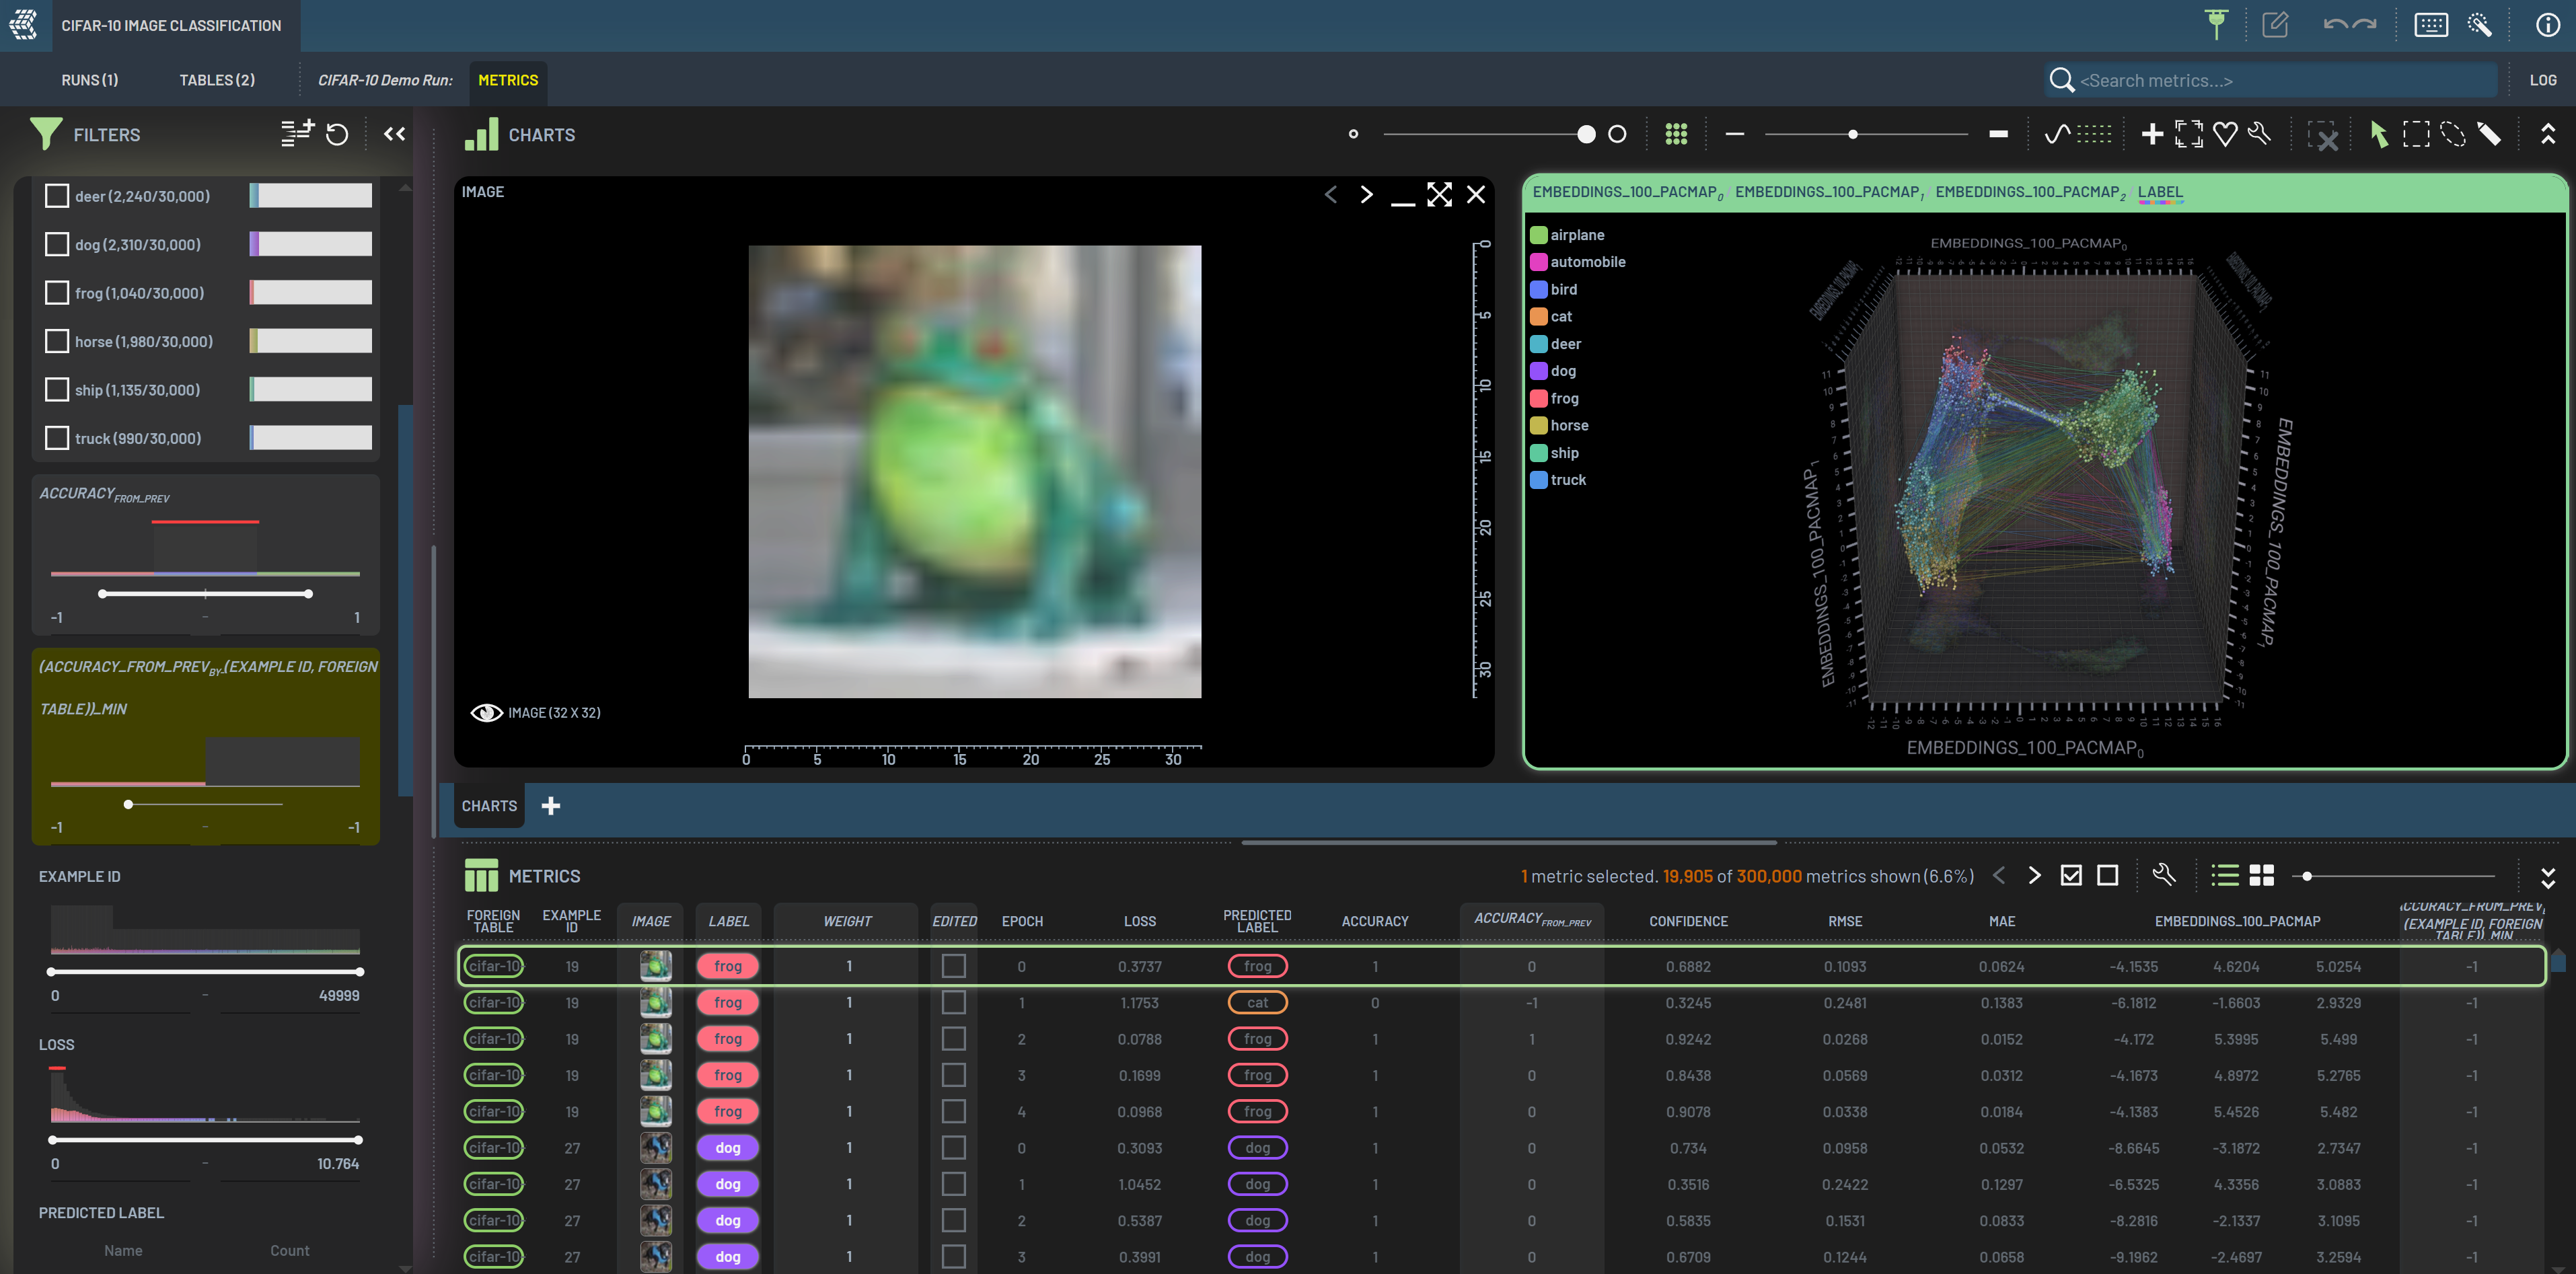
To create a user-defined workflow, RightClick on a column header or a chart’s title bar, then
select Create user-defined Workflow under Workflows in the context menu.

To include charts and applied filters, you need to select all of them (holding Ctrl for multi-selection) before clicking
Create user-defined Workflow. In the screenshot above, two charts and one filter are selected, and the user-defined
workflow will reproduce those same charts and filter every time it is launched. You can update the name and description
of the workflow in the workflow card as below, and you can also delete it by clicking the X in the top right.

To launch the workflow you created next time, you can either start it from the Workflows window by clicking the wand icon at the upper-right corner of the Dashboard, or RightClick one of the prerequisite columns and select the workflow you created.


Export and import a user-defined workflow
You can export user-defined workflows so that the workflow can be shared with others. To export a user-defined workflow, click the download icon on the workflow card. The workflow will be saved as a JSON file in your Downloads directory. Note that only user-defined workflows are downloadable.
To import a user-defined workflow, you can drag and drop the workflow JSON file into the Dashboard.

A banner will pop up at the lower left corner of the Dashboard, showing that the workflow has been successfully imported.
