Instance Segmentation
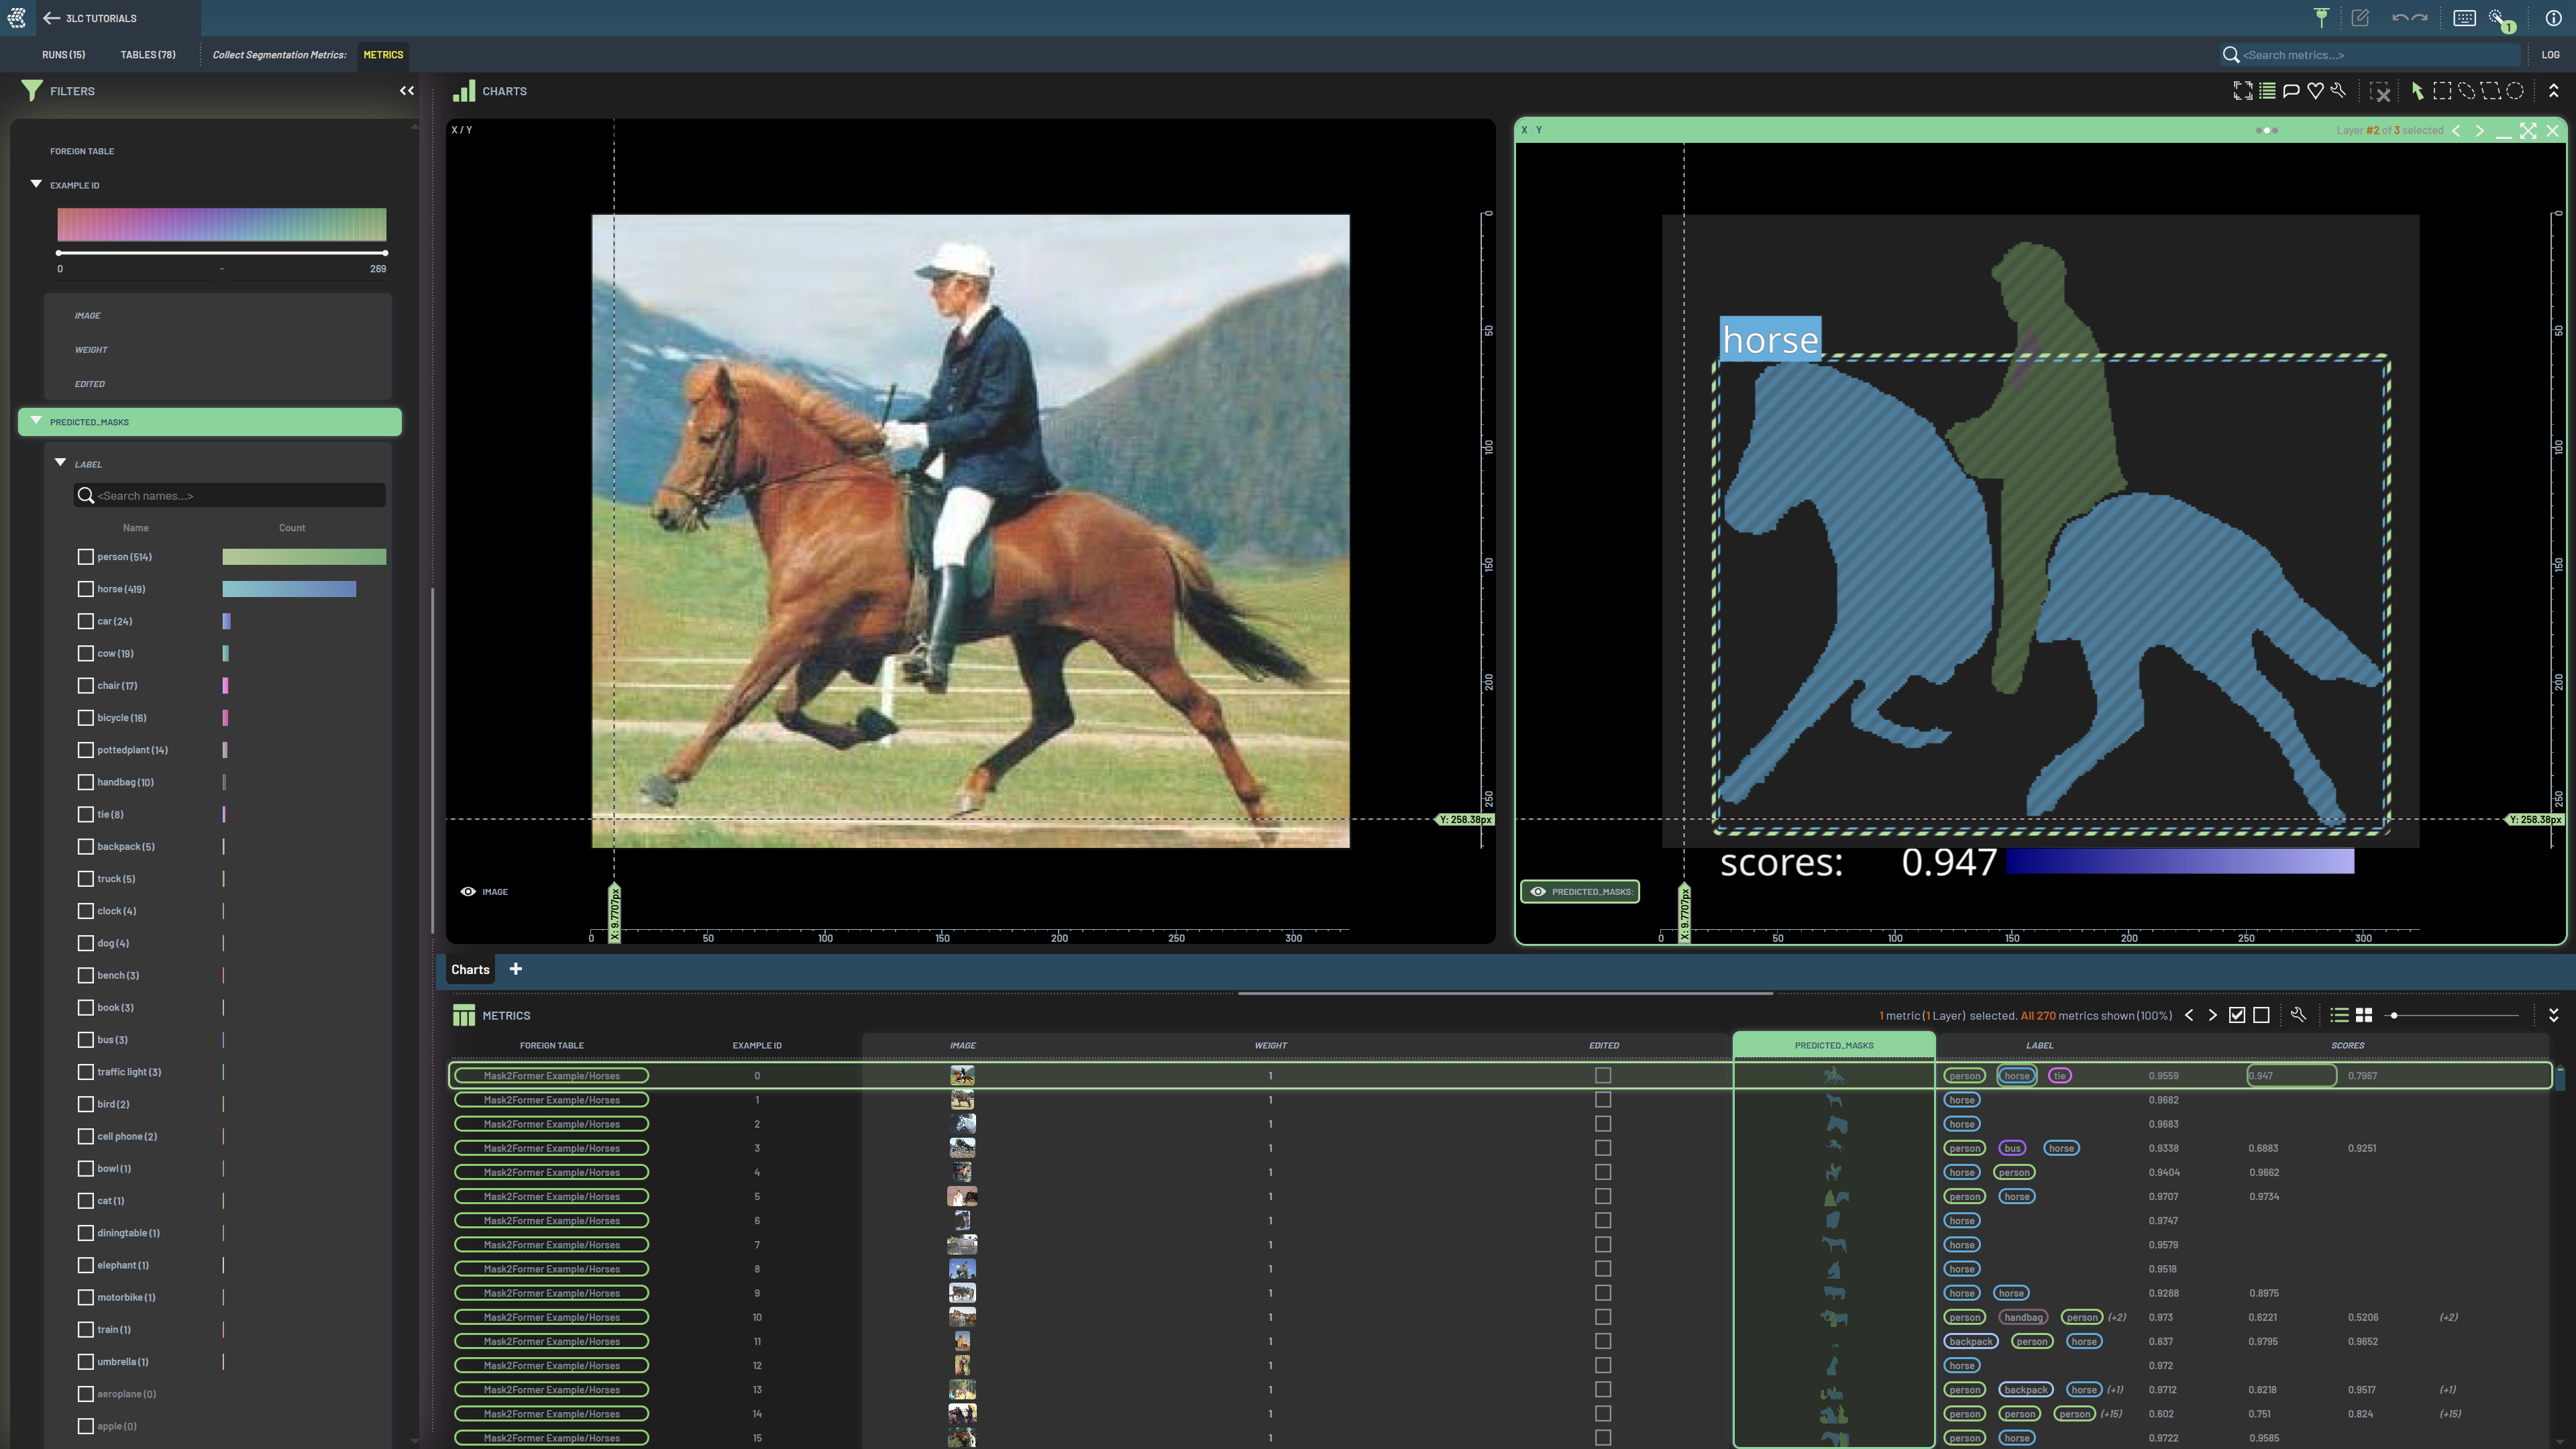
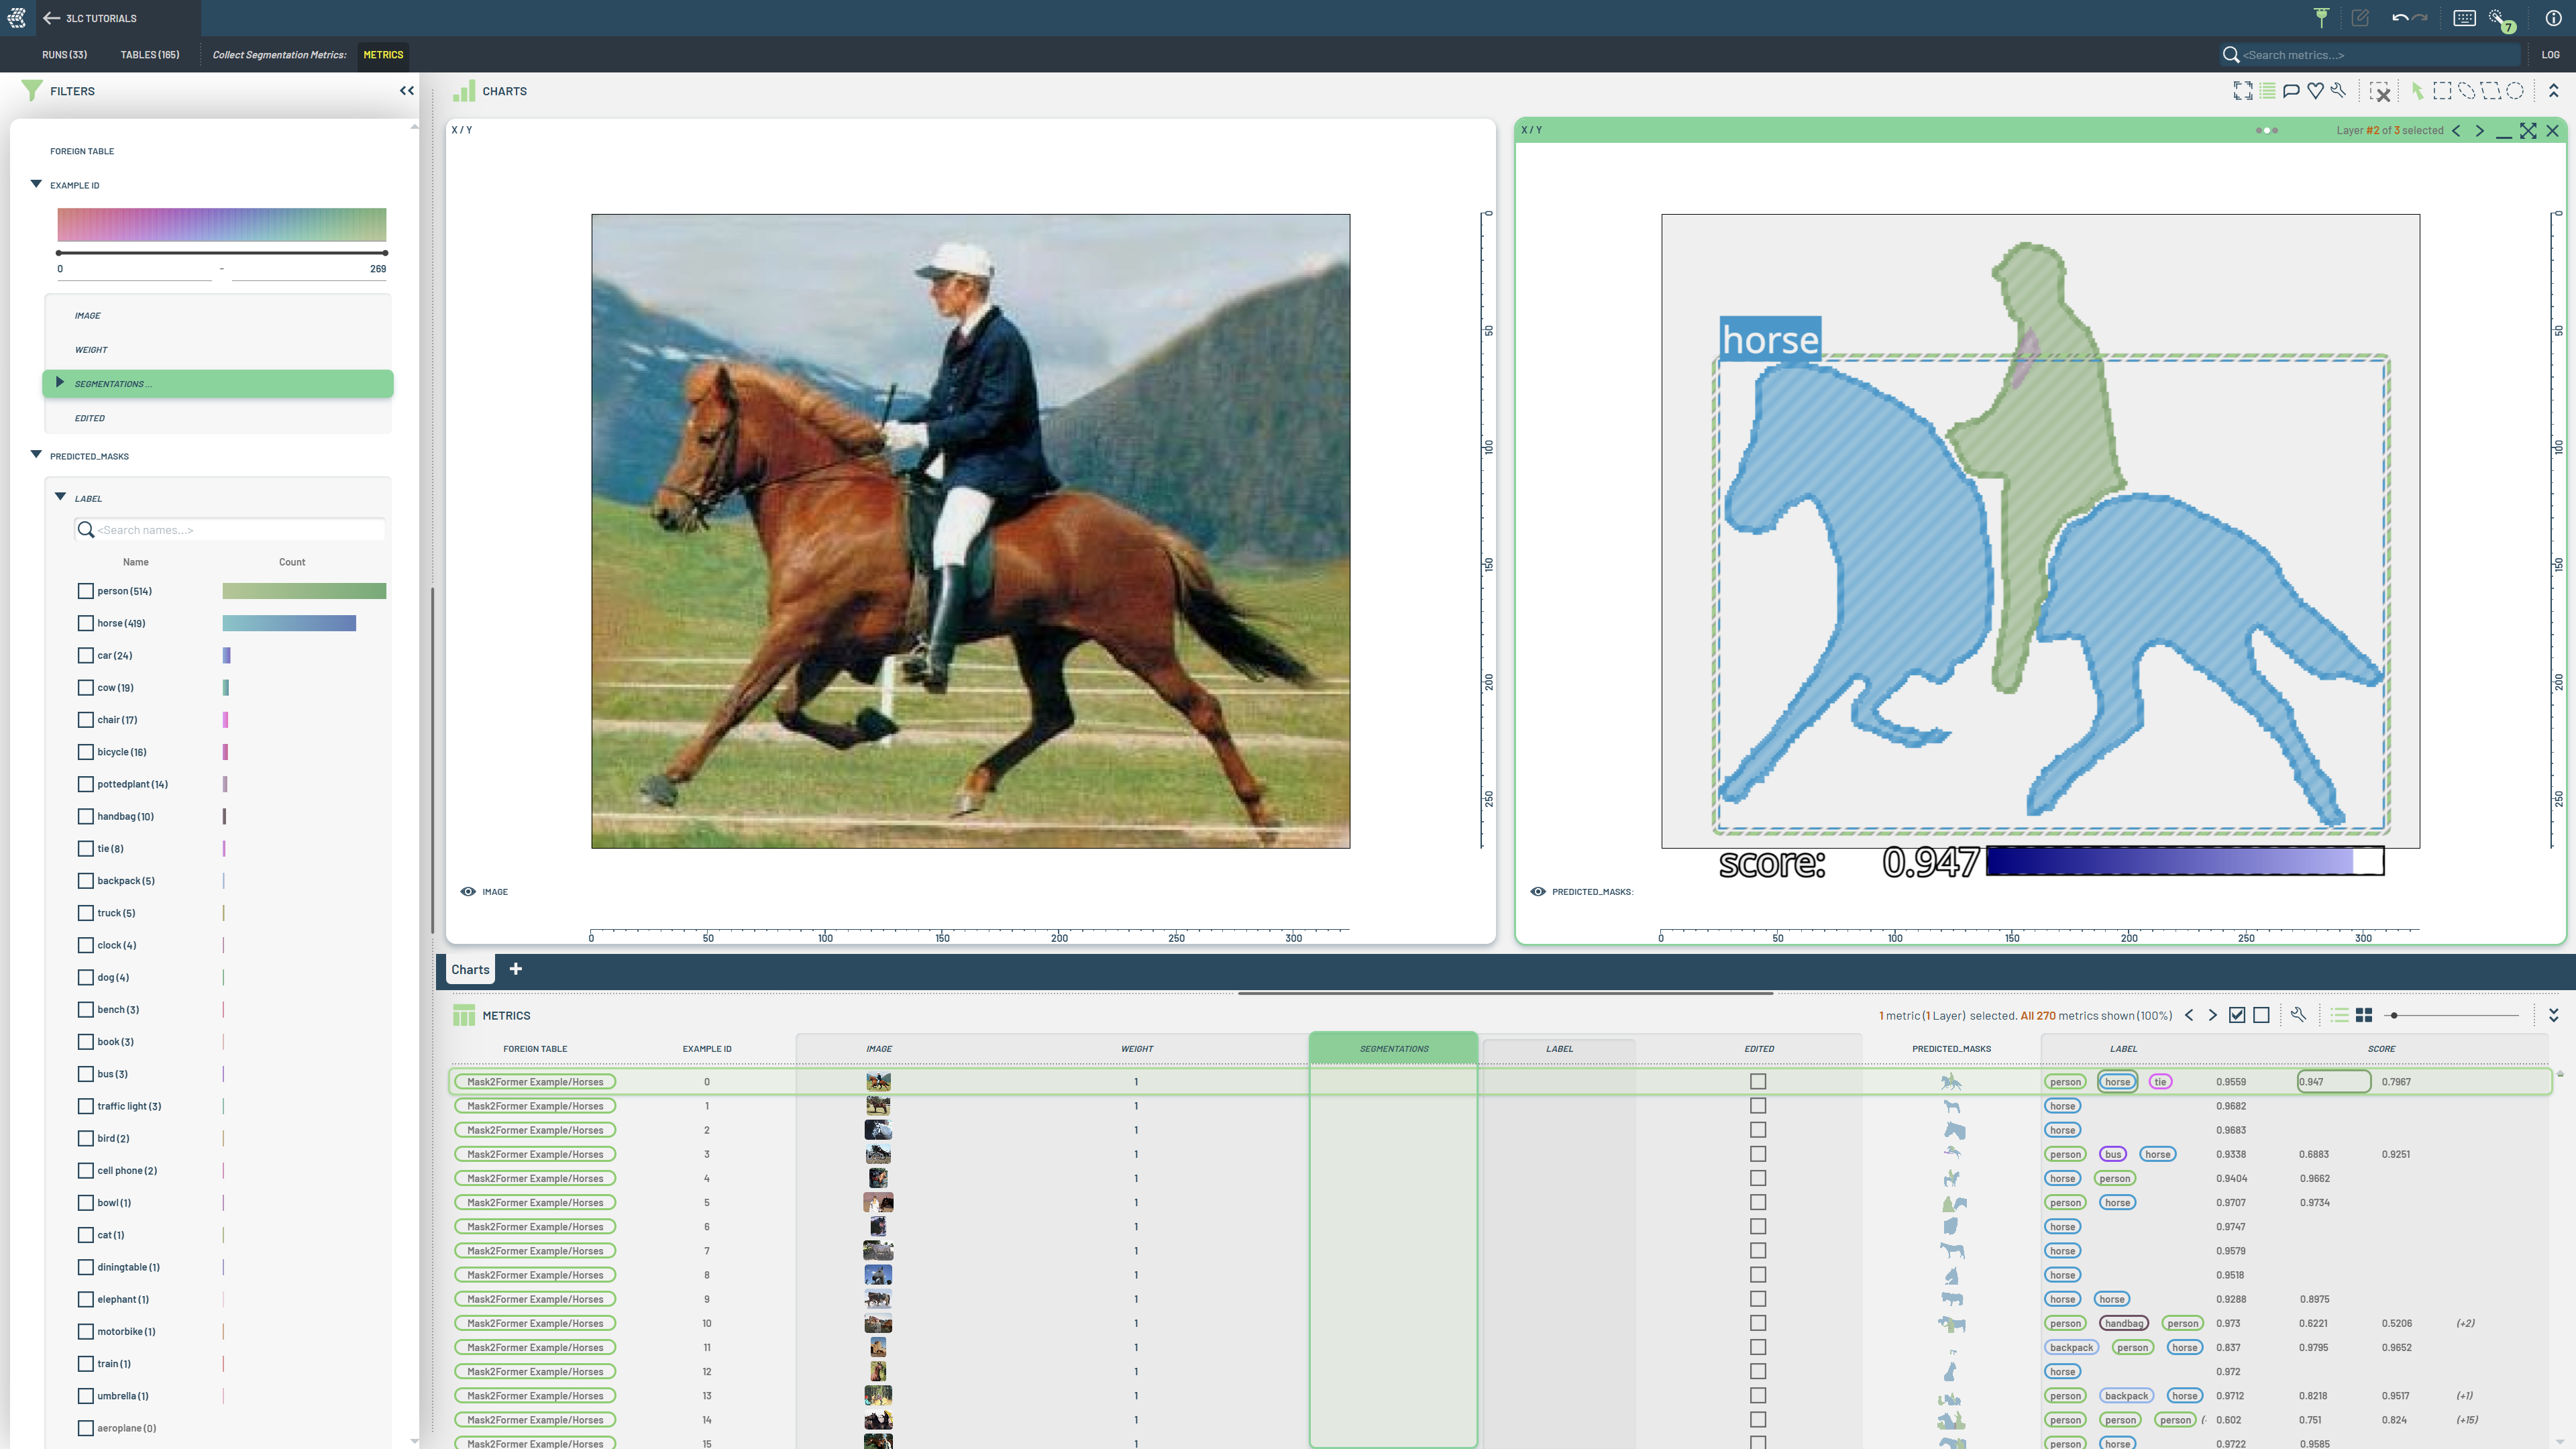
Image segmentation is a fundamental computer vision task that divides images into meaningful parts by assigning labels to individual pixels. This enables machines to understand the content and structure of images at a detailed level. 3LC supports two main types of segmentation. Instance segmentation distinguishes between instances of the same class, e.g. each car gets a unique mask, enabling counting and individual object analysis. See Semantic Segmentation for the case where each pixel is classified individually.
Schema
A segmentation column is described by the schema returned from the dataclass schema() classmethod —
SegmentationPolygons.schema() for
polygon-based annotations, or
SegmentationMasks.schema() for
mask-based annotations:
import tlc
from tlc.data_types import SegmentationPolygons, SegmentationMasks

schema = {
    "image": tlc.schemas.ImageSchema(),
    "segmentations": SegmentationPolygons.schema(classes=["cat", "dog"]),
    # or: SegmentationMasks.schema(classes=["cat", "dog"])
}
Both forms accept classes to define the category mapping. The schema-builder lives on the
dataclass it serializes, keeping the runtime type and its column description paired in one place.
Common Data Formats
In real-world applications, segmentation data comes in various formats. 3LC supports most common formats used in the industry, making it easy to work with existing datasets and annotations:
Input Data Type |
Task |
3LC Supported |
Example |
|---|---|---|---|
Binary mask per instance |
Instance |
✓ |
numpy arrays, bitmaps, .. |
YOLO text files |
Instance |
✓ |
|
COCO polygon lists |
Instance |
✓ |
|
COCO RLE format |
Instance |
✓ |
|
Custom RLE formats |
Instance |
✓ |
E.g. (run-offset, run-length) pairs |
Working with Segmentation in 3LC
The first step to working with segmentation data in 3LC is to create Tables. This can be done manually, using one of the importer Table types, or automatically through one of our integrations.
The tutorials below cover creating instance-segmentation Tables from the common formats, and training and collecting metrics with popular frameworks. For pixel-wise labelling where each pixel gets a single class, see Semantic Segmentation.
Creating Tables
Tutorial |
Dataset |
Description |
|---|---|---|
COCO128 |
Create an instance-segmentation Table from a COCO annotations file (polygon lists or RLE) |
|
YOLO-Seg |
Create an instance-segmentation Table from YOLO segmentation text files |
|
LIACI Underwater Ship Inspection |
Build an instance-segmentation Table from per-instance bitmap masks |
|
Sartorius Cell Segmentation |
Create a Table from a custom (run-offset, run-length) RLE format |
|
ADE20K subset |
Convert grayscale semantic PNG masks into an instance-segmentation Table |
|
COCO128 |
Generate masks from bounding-box annotations with the Segment Anything Model |
Training and collecting metrics
Tutorial |
Dataset |
Description |
|---|---|---|
Balloons |
Fine-tune an instance-segmentation model and collect metrics with Detectron2 |
|
COCO128 |
Collect instance-segmentation metrics from a pretrained Detectron2 model |
|
Sartorius Cell Segmentation |
Train a YOLO11-seg model with 3LC metrics collection |
|
COCO128 |
Collect image embeddings from the Segment Anything Model into a Run |
Once your data is ready in 3LC, you can use it together with your favorite model and framework.
Working with Runs and Tables with segmentation data in the 3LC Dashboard is very similar to working with bounding box data, which is covered in-depth in the document on Bounding Boxes.
Supported Models and Frameworks
3LC is designed to be model and framework agnostic, allowing you to use your preferred tools with minimal effort. We provide examples and integrations with popular frameworks including:
SAM (Segment Anything Model): State-of-the-art foundation model for segmentation
YOLO: Popular instance segmentation framework (https://github.com/3lc-ai/3lc-ultralytics)
Hugging Face Transformers: Access to various pre-trained models, datasets and trainers
Detectron2: Meta’s computer vision library
Format Conversion Details
At its core, 3LC uses the COCO RLE (Run-Length Encoding) format as the internal format for storage and transfer. When data is requested in the sample view, it can be converted to masks or polygons. Depending on the original data format, conversion might be required.
When working with segmentation data in 3LC, you should be aware of these key aspects:
Lossless Conversions: Conversion between masks and RLE format is completely lossless
Polygon Handling: Multi-polygon instances are automatically merged into single polygon paths
Edge Cases: Some information loss may occur when merging multi-polygon instances, but this rarely affects training outcomes, as the model will be trained on rasterized masks
Implementation: We use proven implementations from pycocotools and OpenCV for format conversions
API: The
SegmentationHelperclass provides a set of helper functions for working with different segmentation formats
The diagram below illustrates how the data is stored and converted:

Additional Resources
For deeper understanding and reference, we recommend these resources:
COCO Dataset: The standard benchmark for instance segmentation
pycocotools: Essential tools for working with COCO format
YOLO Segmentation: Real-time segmentation guide
Hugging Face Segmentation Guide: Working with transformer-based models
Visualization
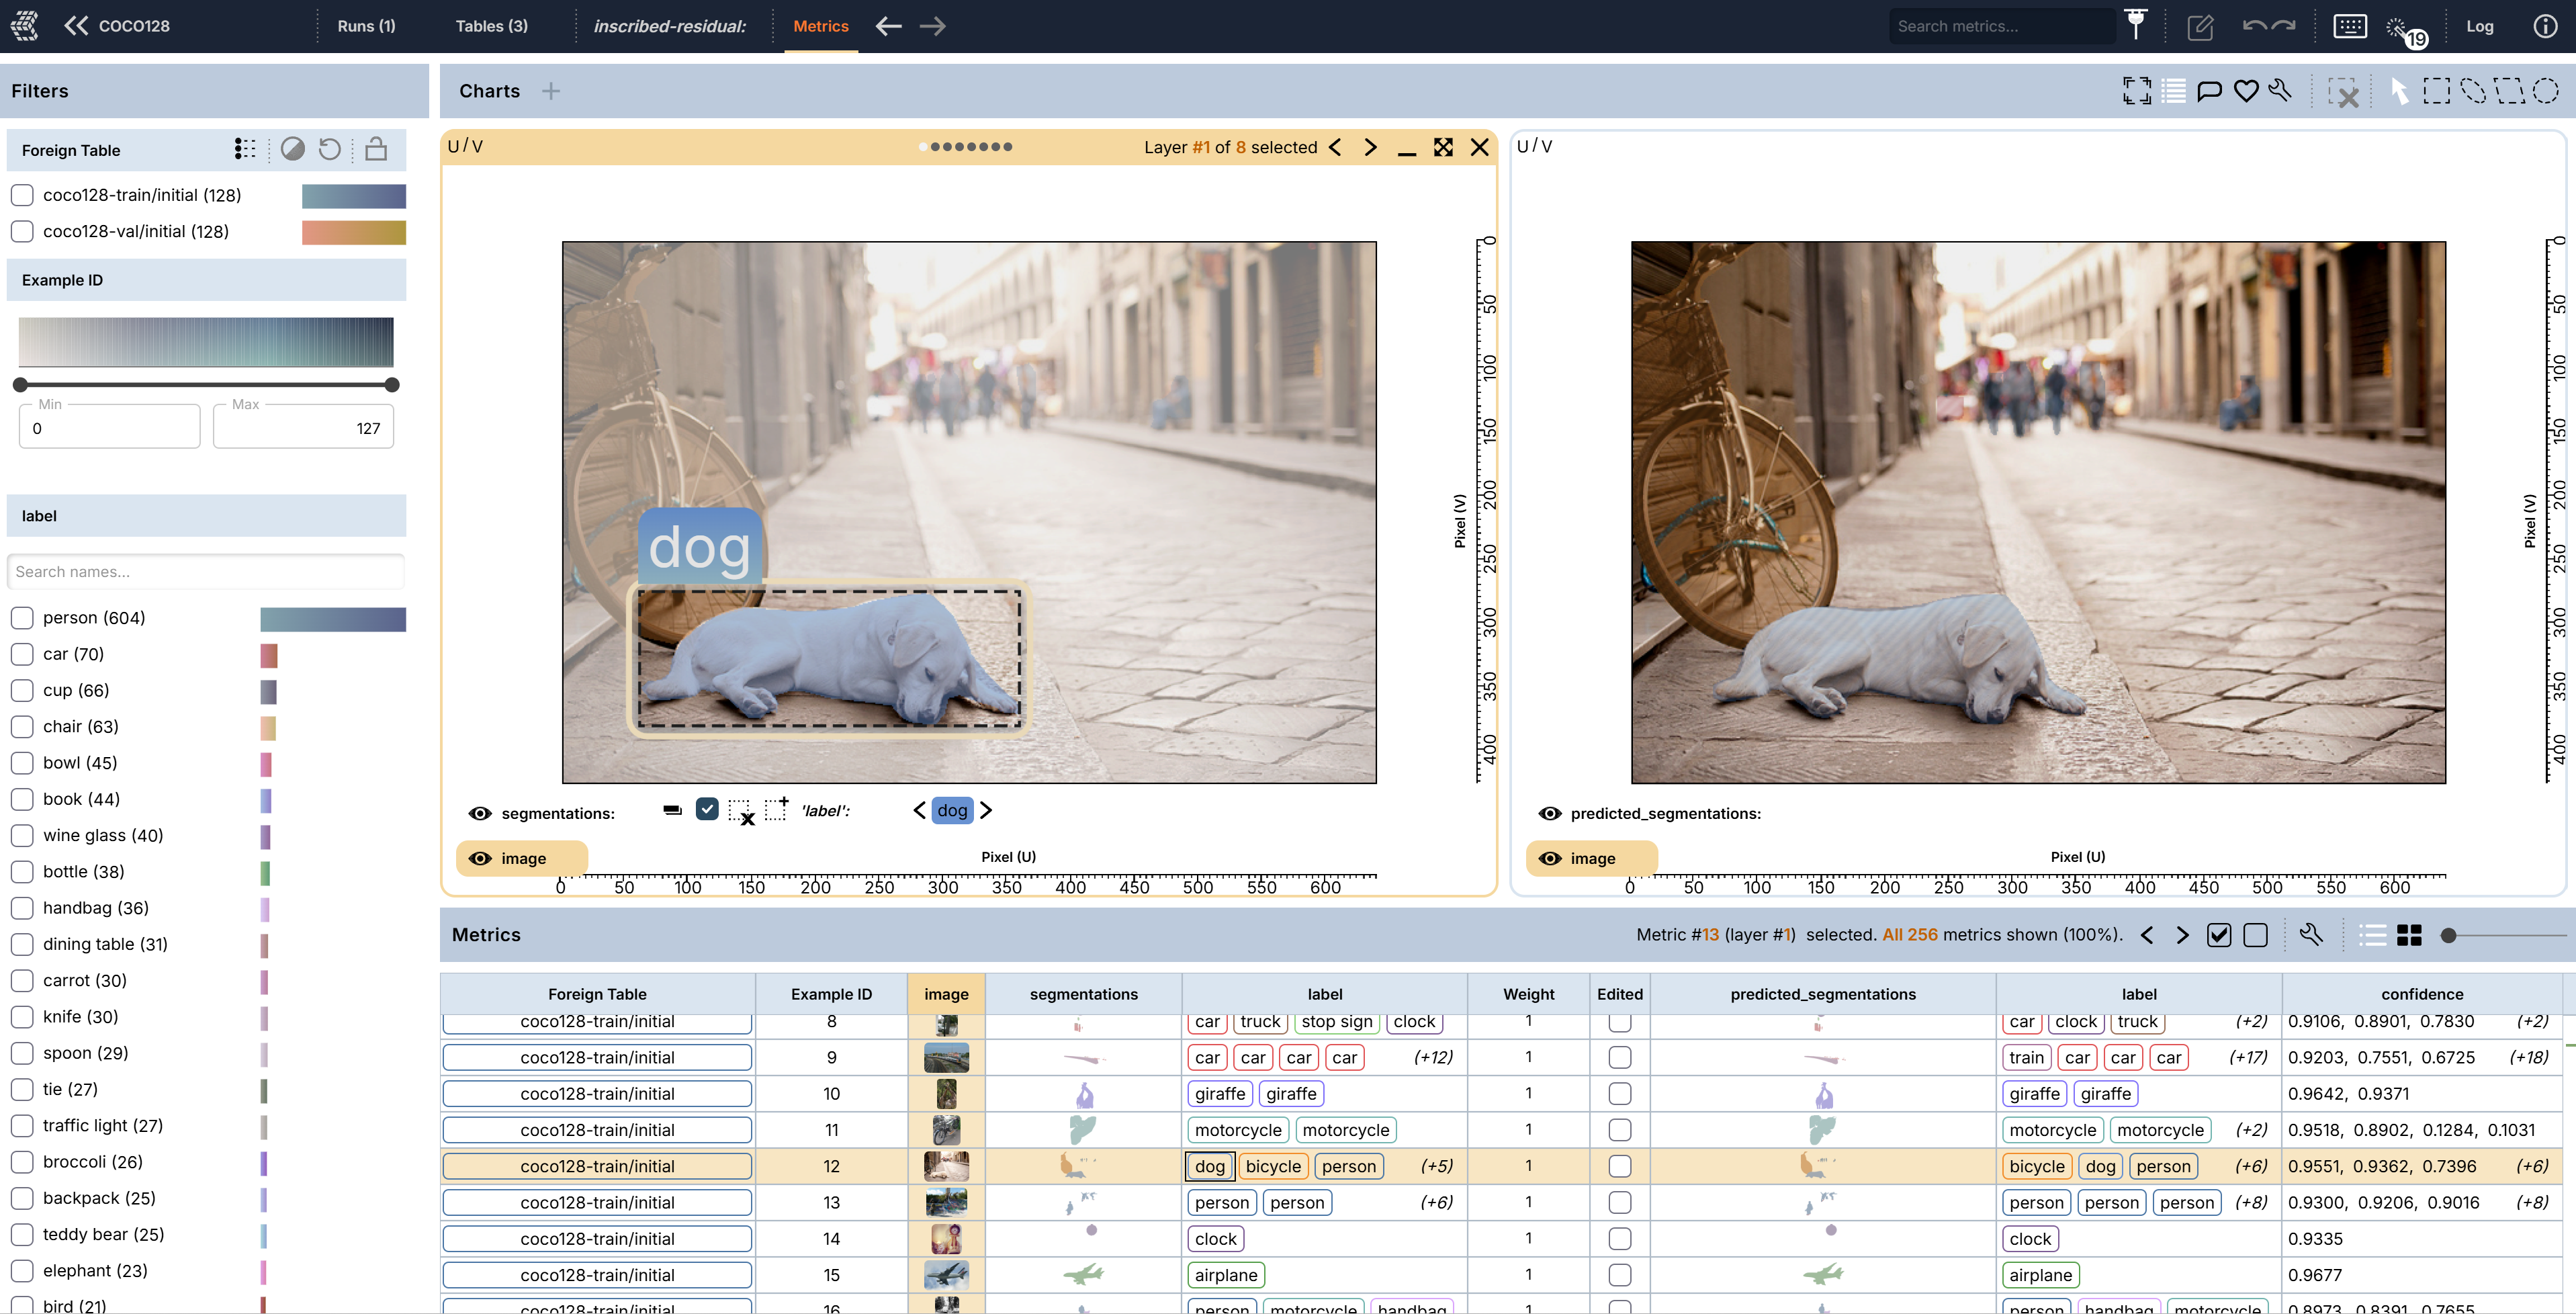
How to create a mask and image overlay chart
To create a mask-image overlay chart, select both image and mask (or
segmentations) columns and create a 2D chart by clicking Create 2D chart in the chart area or pressing
2.
Editing
Instance segmentation masks are a collection of individual paint layers for an image that can overlap. This differs from semantic segmentation masks, which have a single paint layer. Thus, how you edit instance segmentation masks differs from how you edit semantic segmentation masks.
When you pull up a masks+image chart, there is a segmentation context menu at the lower left of the chart (figure below), which can be expanded into a segmentation list or collapsed. It contains all the segmentation instances and all the tools for editing a mask. When collapsed, the editing tools are, from left to right, paint, erase, erase all unselected layers when painting, select label, and add layer. When expanded, the segmentation list shows all instances in the selected sample, and the editing tools are at the top of the list.
Edit an existing mask
To add paint on an existing mask, you can follow these steps:
select the mask (click it on the chart) that you want to edit
click the “paint” icon, if it is not active, in the segmentation context menu
select one of the paint tools (next to the arrow icon) at the upper right corner of the Charts panel
paint on the chart
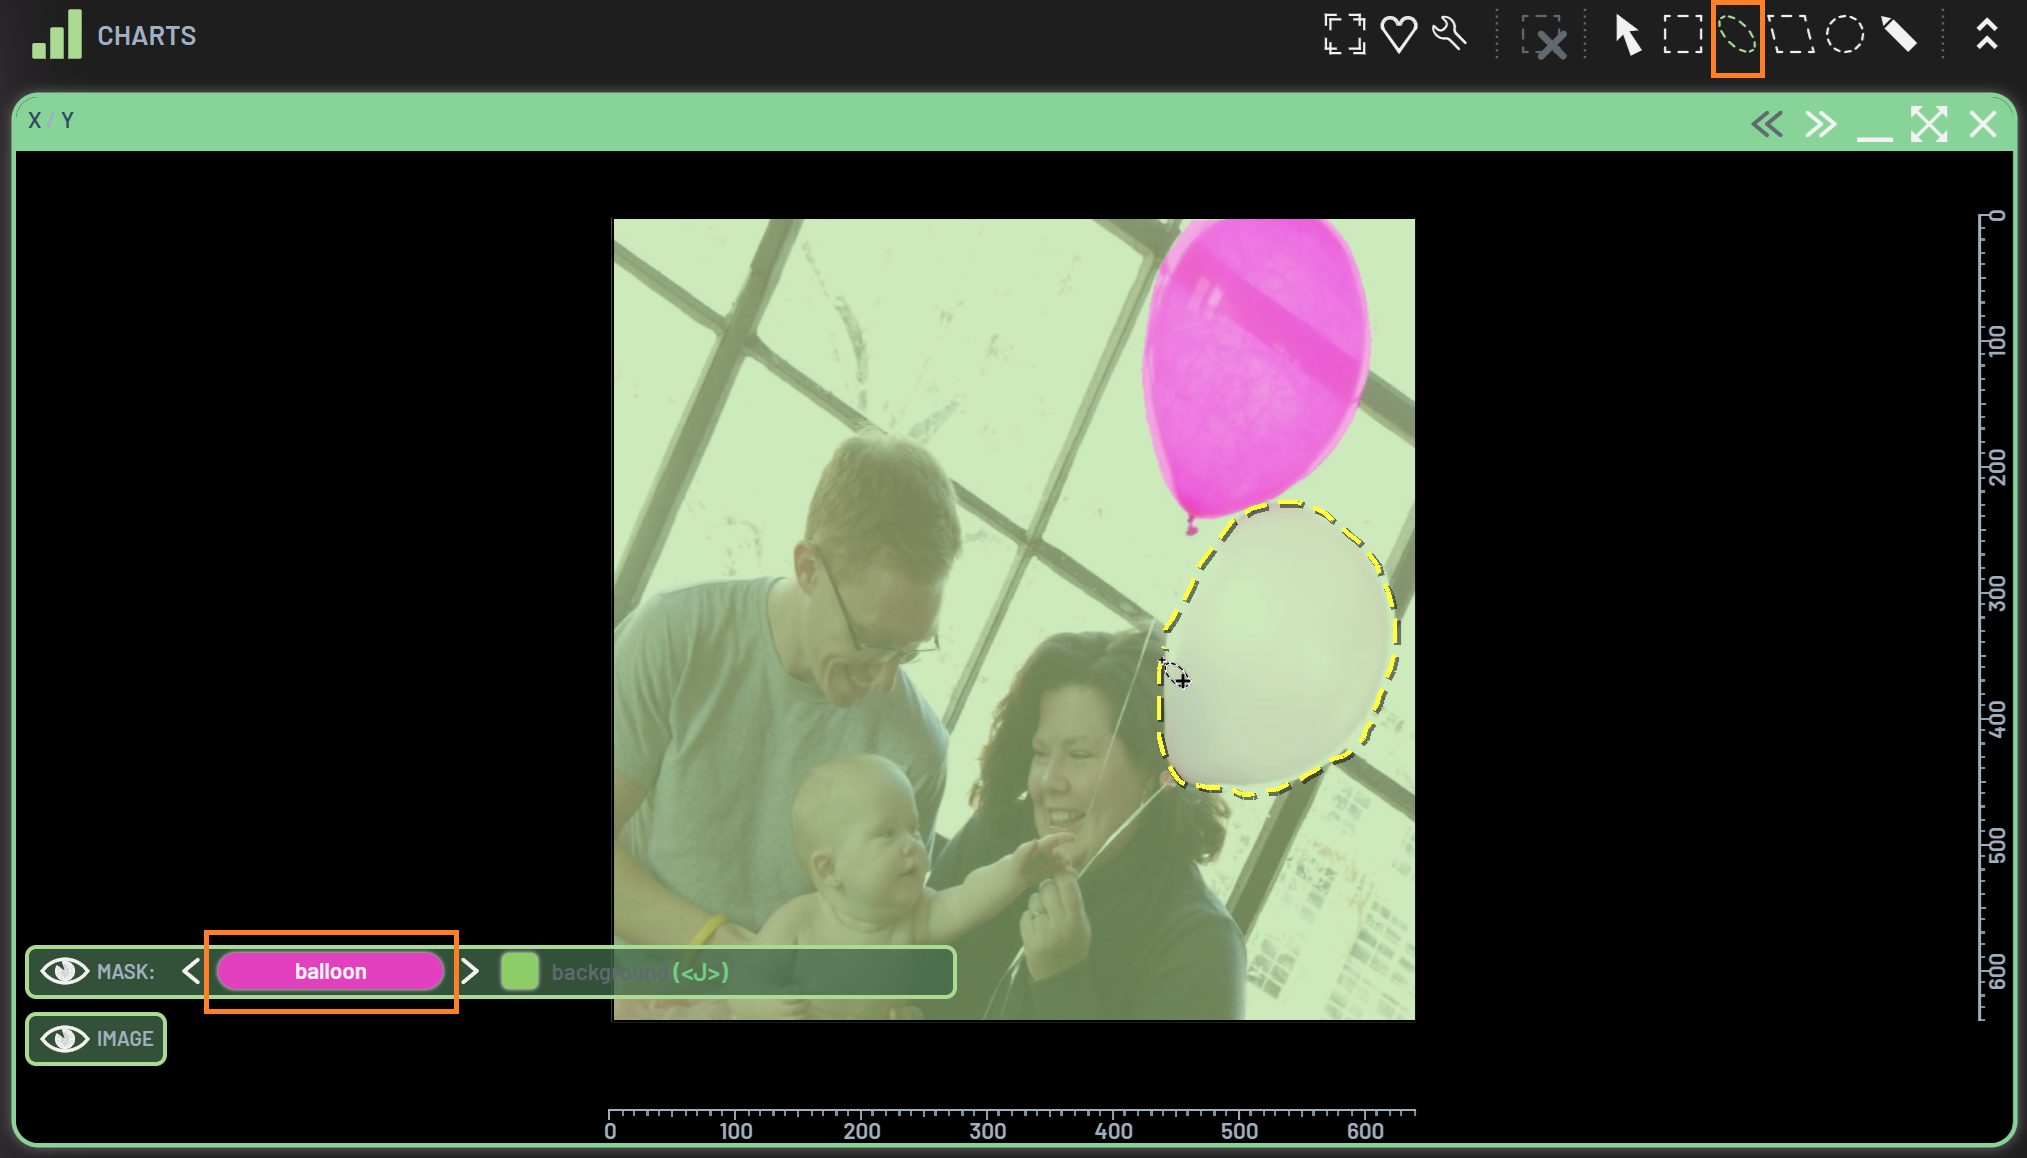
You can also select a specific mask in the segmentation list. Expand the list by clicking the triangle in the segmentation context menu and select the desired entry. In the list, you can reassign the classes for individual instances or delete a specific instance by clicking the trash-can icon that appears when you hover over its entry in the segmentation list.
How to select a mask underneath another one
If the mask you want to select is completely covered by another one, you can click the same spot multiple times to loop through all the masks that are under the pixel you clicked on.
To erase some paint from an existing mask, you just need to select the “erase” icon in the segmentation context menu. All other operations are the same as above.
Tips
You can press space to switch between the pan and paint mode while painting a mask, so you can easily go back and forth between painting the mask and panning the image.
Create and paint a new mask
You just need to start with clicking the “add layer” icon in the segmentation context menu and paint the newly added mask the same way as above. Note: you don’t need to select the newly added mask before painting, because it’s automatically selected right after it’s created.
When you paint a mask, the default behavior is that any pixels that belong to other masks will be erased while you are painting the currently selected mask. This ensures that a pixel can only belong to one mask. If you do not want other masks to be modified, you can click the “erase all unselected layers when painting” icon to turn it off.
Delete a mask
To delete a mask, select the mask and click the trash icon when hovering over it in the segmentation list.
Alternatively, after selecting the mask, you can RightClick and then click Delete layer in the
context menu or simply press Delete to delete the selected mask. You can also delete multiple masks
at once by selecting them all together, which can be done by holding the Ctrl key while clicking
the masks in the chart or clicking the entries in the segmentation list.
Ungroup a mask / Group masks
To ungroup a mask with multiple segments (islands), select the mask and click the “ungroup” icon in the segmentation context menu. Each segment becomes an individual mask.
To group multiple masks into a single mask, select all the desired masks by holding the Ctrl key while clicking them, then click the “group” icon in the segmentation context menu. Note that only masks with the same class can be grouped.